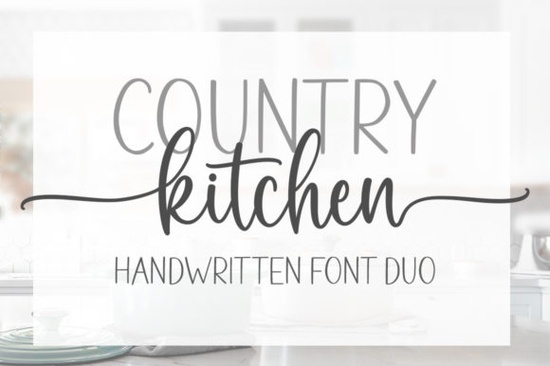
When you are working on farmhouse decor, recipe cards, or rustic bakery packaging, finding the right typography is half the battle. The Country Kitchen Font gives you a ready-made solution with its two complementary styles. Instead of mixing and matching different typefaces that clash, this pairing gives you a cohesive look right out of the box. It brings a warm, inviting feel to everything from wooden sign mockups to custom apron designs, making it a reliable choice for your daily creative work.
What makes this specific pairing so useful for crafters?
The main advantage here is visual contrast and versatility. You get a bolder, more structured letterform paired with a flowing, elegant script. This means you can use the blockier style for your main headings and the script for decorative accents, subtitles, or signatures. This natural hierarchy makes your designs easier to read while still looking highly professional. Because the set is PUA (Private Use Area) encoded, you do not need to rely on complex software workarounds to get the beautiful swashes and alternate glyphs. You simply type, and the software recognizes the extra characters, saving you a lot of time when you are on a tight deadline.
How can I apply these styles to print-on-demand products?
If you sell on Etsy or run a small Shopify store, rustic and farmhouse aesthetics consistently perform well with buyers. You can use this typography to create a variety of physical products:
- Kitchen textiles: Dish towels, oven mitts, and aprons featuring funny cooking quotes or family names.
- Wall art: Framed family recipe prints, wooden sign graphics, or metal wall decals.
- Packaging: Labels for homemade jams, candles, or artisanal soaps sold at local craft fairs.
The key is to keep the layout clean. Let the typography do the heavy lifting without overcrowding the design with too many graphics. Always remember to check the specific commercial license included with your download to ensure your intended use is covered.
What if I need a slightly different vibe for other projects?
While this specific duo is perfect for rustic and chic themes, you might occasionally need a different mood for your client work. If you are designing something for a younger audience, you might look into styles you might use for educational materials that are a bit more playful and rounded. For projects that need a bit more movement and bounce, exploring options with a bit more swing could be a better fit for invitations or greeting cards.
Sometimes, a project calls for something less polished. If you need designs that feel a bit more rugged for outdoor, camping, or hunting themes, you will want to adjust your typography choices accordingly. On the other end of the spectrum, if you are working on choices that lean heavily into bakery themes, you might want something rounder, softer, and more decorative. And for projects where authenticity is the main selling point, finding textures that look genuinely crafted by hand will give your final product that perfect imperfect charm.
How do I actually use the PUA encoded features?
Many crafters get confused by PUA encoding, but it is actually quite simple once you understand the basics. PUA maps the alternate characters and swashes to standard Unicode slots, meaning your computer sees them as regular letters.
- Open your design software, like Illustrator, Photoshop, Canva, or Cricut Design Space.
- Select the font from your dropdown menu.
- Type your text normally using your standard keyboard.
- Use the Glyphs or Character panel in your software to swap out standard letters for the decorative swashes.
This means you spend less time hunting for special characters and more time actually designing. If a specific swash does not show up, ensure your software is updated to read PUA mappings correctly.
Quick setup checklist for your next project:
- Install both the regular and script files directly to your operating system.
- Restart your design software completely so the new typeface registers properly.
- Check the glyph panel to familiarize yourself with the available swashes and ligatures.
- Create a small test document to ensure your cutting machine or printer reads the connected letters correctly before committing to a large batch.
 Victory Swing: Font Design & Creative Project Ideas
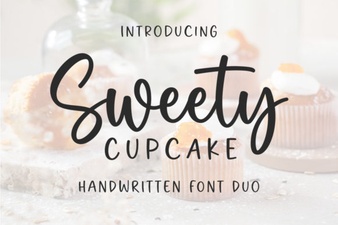 Sweet Cupcake Fonts for Designers
 Inspire Your Projects with Handwritten Fonts
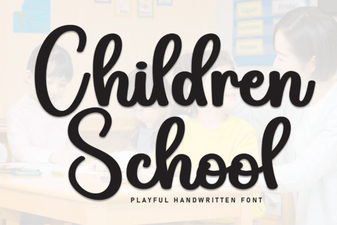 Fonts for Learning: Creative School Design Ideas
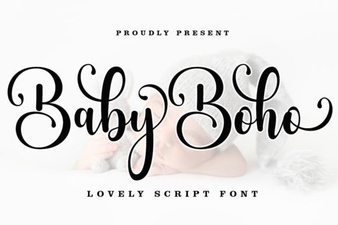 Free Baby Boho Font Downloads & Design Ideas
 Craft Your Projects with Handmade Fonts